No products in the basket.
The ability to import a MIDI remote script into Remotify and edit it to your own needs is an important part of the App. An example of when this comes in useful is for example when you’ve just bought a new midi controller but you want it to have the functionality you created in a previous script. Simply, import the script back into Remotify and you can edit the midi messages to match your new controller and you’re good to go!
Let’s go through how to import a script into the App.
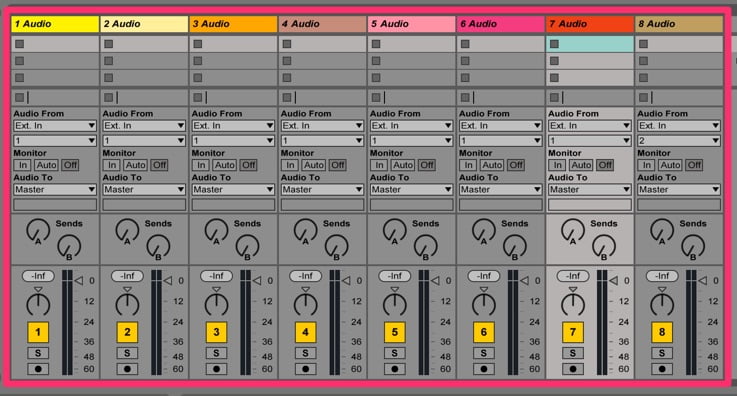
Importing is a simple process but you’re going to need something to import, so we’ve pre-built a script especially for this tutorial which gives you mixer control over 8 tracks in your Ableton session. A great starting point.

On each track you’ll be able to control:
- Volume
- Pan
- Mute
- Arm
Go ahead and download it here:
free midi remote script download
The script is built using the exact same process described in the tutorial How to make your first MIDI remote script. We used the Akai MidiMix controller as the basis for midi messages, so if you have this controller then the script will be usable immediately.
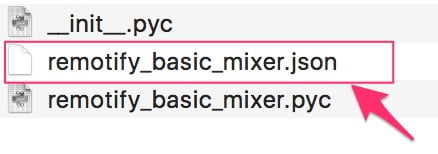
Once it’s downloaded you’ll see ‘remotify_basic_mixer.zip’, extract its contents then open the extraded folder and inside you will see 3 files. There are 2 files with the extension ‘.py’. These are the actual midi remote script files which Ableton interacts with.
If you can’t see the file extensions, you may need to turn this on in your operating system. A quick google will give you the instructions you need to do it.
The file we’re interested in is the file with the extension ‘.json’ (remotify_basic_mixer.json).

This file is specific to Remotify and contains details of all the mappings in the midi remote script. Remotify uses it to rebuild the script in the app interface.
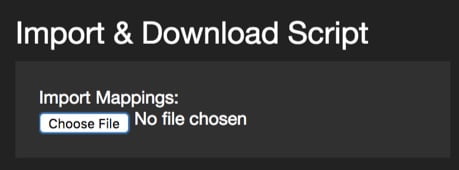
Login to remotify.io and navigate to the ‘mapping list’ page. Towards the top left of the screen, you’ll see a box named ‘Import Mappings’.

Click ‘Choose file’ and navigate into your newly downloaded ‘remotify_basic_mixer’ folder and select the ‘remotify_basic_mixer.json’ file.
You will then be asked ‘Are you sure you want to import this script?’ Click ‘ok’.
If everything went well, you’ll see a green message which reads ‘successfully imported a Remotify Script’. Scroll down the page and you’ll now see that a long list of mappings have been added. This is all of the mappings contained in the remotify_basic_mixer script.
I hope you have your midi controller plugged in and ready because we’re now going to edit each mapping to use your midi controller’s inputs.
Lets control all of the functionality for track 1
In the filter menu, select “Track Specific Number” and enter “1” in the input box next to it. This will instantly filter all of the mappings to only show you the ones that apply to Track 1 in Ableton.

Click the blue “edit” button on the first mapping, this takes you to the mapping detail form (you saw this in the previous tutorial) but this time it will have all of the values already completed.
You just need to change the details in the “midi controller values” box.
If you’re in Chrome, hit “midi learn” and wiggle or press the control you want to use, or if you prefer to enter them manually, select the correct midi channel, type, momentary & value then hit save and repeat this simple process for each mapping in track 1.
Once done, if you want to add controls for more tracks, go back up to the filter input and change “1” to “2” or whichever track you’d like to map next and repeat the process.
Keep mapping each track’s controls until you’re done.
Then, give the script a name, download & install it the same way we did in making your first MIDI remote script tutorial.
Note: If there’s mappings you don’t want to use, you can either delete them or set their midi message values to ones that your midi controller doesn’t use (selecting an unused channel is an easy way of doing this).
And that’s all there is to it!
Great, now that you know how to import, you have the ability to create a script, download it, then import it at a later date and continue working.
You’re well on your way to being a midi remote script building master 🙂
