No products in the basket.
This tutorial is in answer to a question in the Forum from user ddr, regarding our App Control Surface Studio.
“how would I set the LED in a button depending on the On/Off status of a device.
LED is set by a note on message, velocity=0 for off, velocity=1 for on.”
Further reading Reactions Reference Guide
Like their name suggests, ‘Reactions’ are a trigger/action based mapping type. You use them in your script to say ‘when this happens, do this’. A great way to use them is for sending custom LED / Velocity values back to your Controller when arbitrary events occur in Live or when you press a button / turn a knob on your Controller.
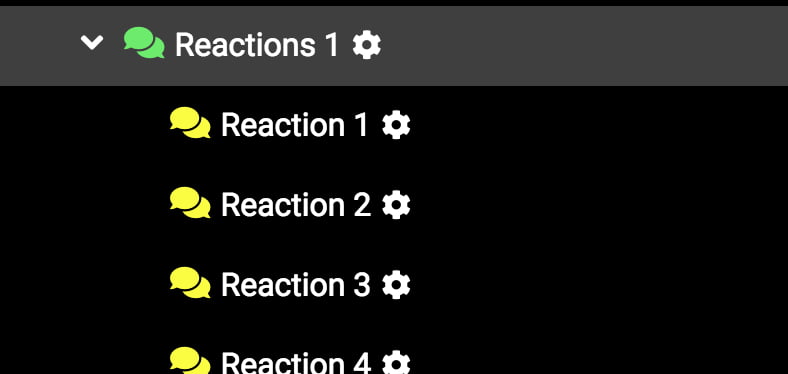
The”Reactions” mapping type is a group wrapper which contains a collection of “Reaction” mappings. When you create Reactions, you will first select the number of “Reaction” children to add to it. This is so you can quickly create a number of related Reaction mappings and have them grouped together in the Script Manager. The number of Reaction mappings in the group can be changed at any time
The 3 categories of a Reaction
Listener
What do you want your Reaction to listen out for? this could be the press of specific button on your Controller, or something in Live such as when a Track is added.
Conditions
maybe you only want the Reaction to fire if a certain query is true. i.e. only fire if your session contains more than 10 tracks.
Reactions
What event(s) do you want to happen? i.e. send a velocity value back to your Controller for LED.
Warning: Reactions allow you to write snippets of code directly into your script. An incorrect snippet can easily break your Script so please do make sure that you have your Error Log working correctly. The Error Log Displays a red dot next to it when a script in your MIDI Remote Folder has errors. Opening it will give you details of each Error.
For the following steps we will be using a ‘Control’ listener to activate our Reactions. It’s important to note for a Control listener to fire, that Control must have at least one other mapping on the mode. If it doesn’t, then the Control effectively doesn’t exist on that mode so a Reaction has nothing to hook into.
Let’s build our Reaction Mappings
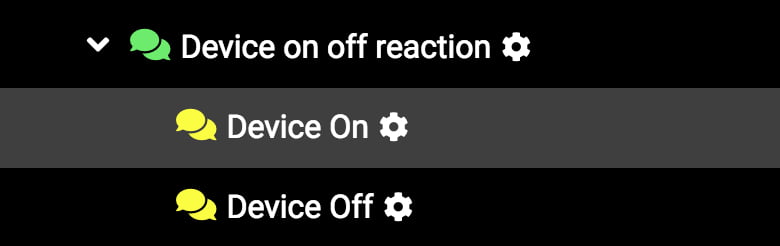
We will be building a a Reactions Mapping contains 2 Reaction child mappings. One will send a velocity value to your controller when the Device On/Off button is On, and the other when the Device On/Off button is off.
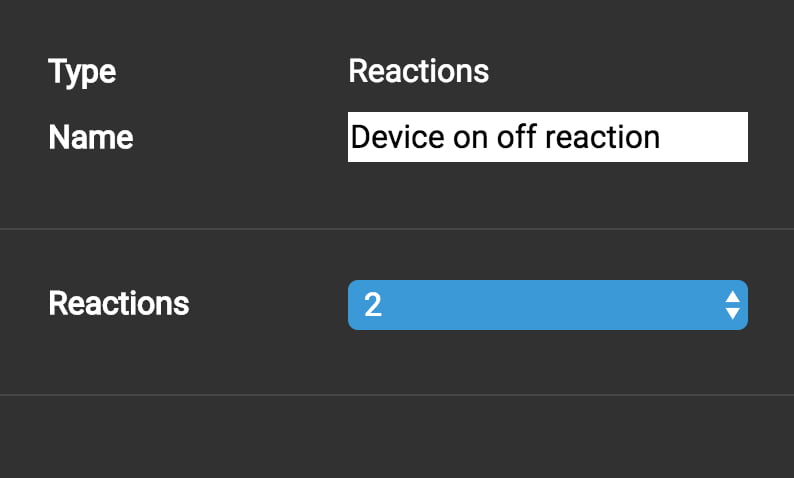
Create a Reaction containing 2 Reaction mappings. This will give you more flexibility in allowing you to send 2 different velocity values back to your Controller depending on the value of the Device on/off parameter.
Name your Reaction something descriptive like ‘Device On/off Reactions’
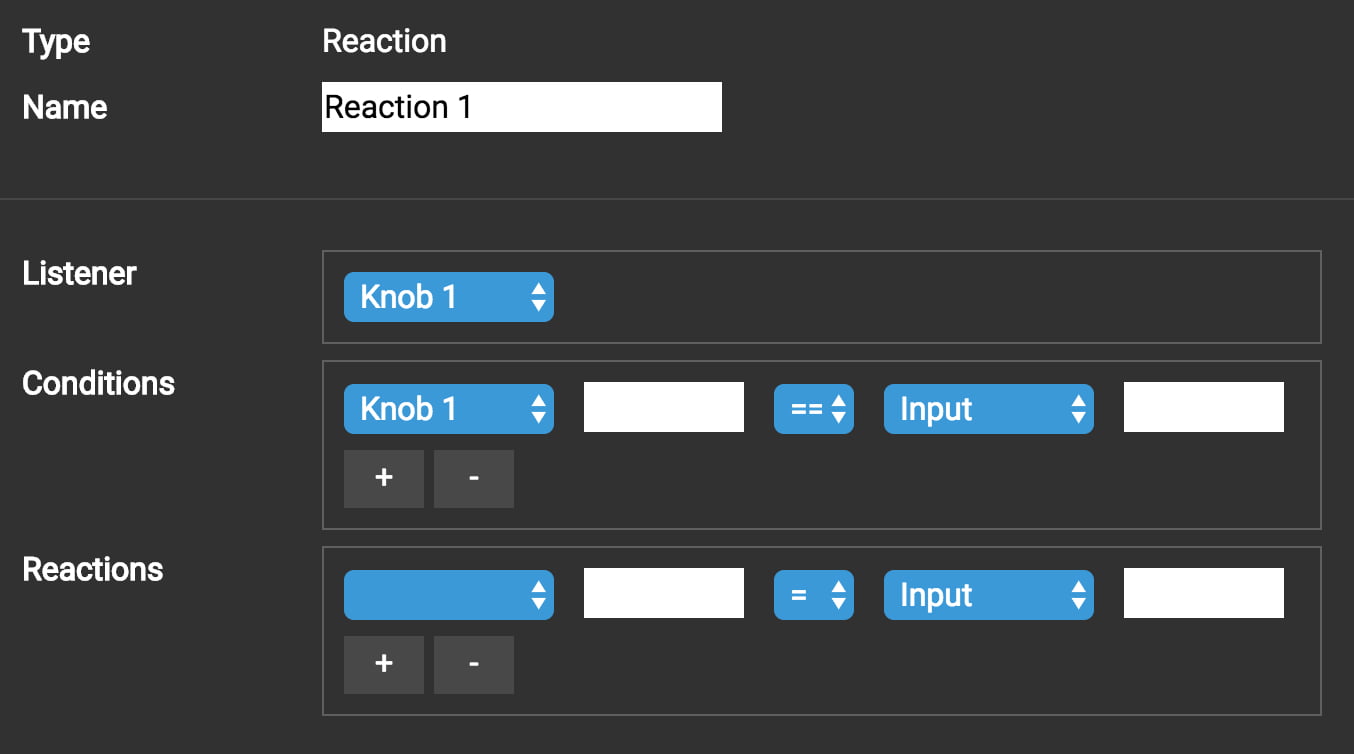
For the first reaction, name it ‘Device On’
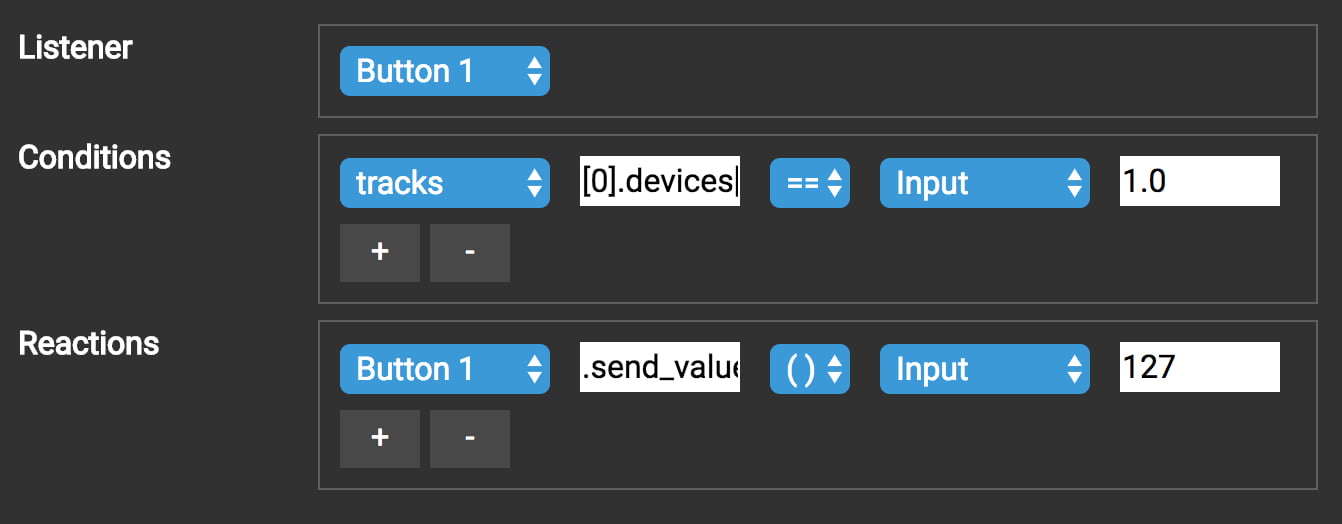
Select your button as the listener option.

You might be wondering why we don’t use the Device On/Off button as the listener. Well, due to the massive amount of code your script would need to contain, we don’t have a ‘listener’ for any Device Parameters. The best alternative in this case is to use your button as the Listener.
In conditions select ‘tracks’ then enter this string into the input box next to it:[0].devices[2].parameters[0].value
The numbers inside the brackets are what you want to change in order to select a specific track and device (note, they start from 0 and not 1). The first 0 is the track number, the 2 is the device number on that track (Device 3 in this case) and the final 0 selects the first parameter on the device which is the Device on/off.
Then select ‘==‘ ‘input’ and enter 1.0 in the input field.
This is telling the reaction to only fire if that Device parameter’s value is equal to 1.0 (1.0 is ‘on’, 0.0 is ‘off’).
You only need 1 condition.

In Reactions, select your Control in the first select list.
Then in the input field next to it, add the following:.send_value
Then select () ‘input’ and in the final input field, enter the velocity value that you want to send back to your Controller. The original question said that the “on” velocity value is 1, so you would put a 1 in here. For the Launchpad S which I used, it displays a few different colours, so I could use anything between 5 & 127 (0 & 4 are ‘off’ values on the Launchpad).

In the world of MIDI, Velocity values are what make LEDs light up and a certain colour. Each Controller has its own Velocity Value settings for colour values, so consult your Controller’s user manual for what you want to display.
For the second Reaction, name it ‘Device Off’ and follow the same steps as above, change the Condition to check for 0.0 instead of 1.0.
Also change the velocity value to what you want it to display when the device on/off button is ‘off’.
Further reading Reactions Reference Guide
Below is the tutorial as a pre-built script which you can import into your copy of Control Surface Studio and use in your own scripts. Copy and paste the ‘Reactions’ group mapping into your own script for speed.