No products in the basket.
Hey 👋
In today’s tutorial, we’re going to focus on how to add and move a red box around the tracks and scenes in session view of Ableton (we call it a Session Box in Control Surface Studio).
I’ll show you how to add navigation controls with either a knob or 2 buttons.
Prerequisites
Make sure you already have a controller template setup with some buttons or knobs correctly configured which you can control your session box with.
Add a session box in your script
With Control Surface Studio, it’s super easy to create your own custom session box of any width(scenes) and height(tracks) in your script.
With the script editor open, open the mapping menu and click ‘session box’. This will add a session box mapping to your script and open the mapping edit form for it as the same time.

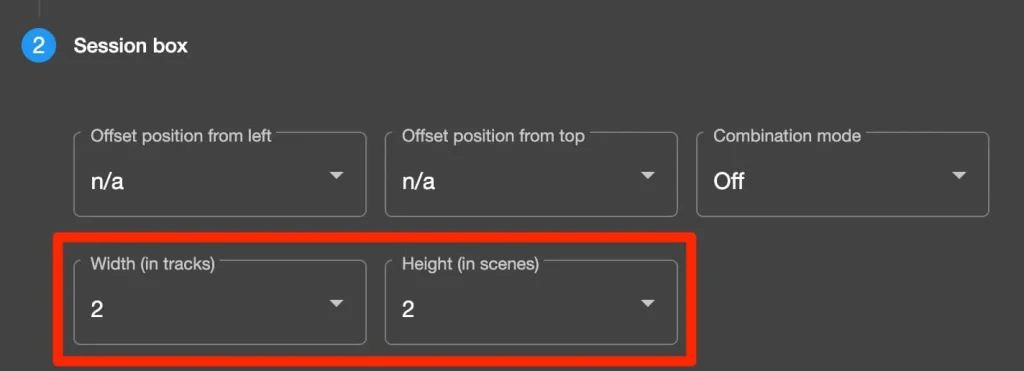
The session box edit form will open. Scroll down to the ‘session box’ panel, click to expand it and then set the width & height to 2.
As we’re just focusing on navigation of the session box, there’s no need to enter anything else in here.
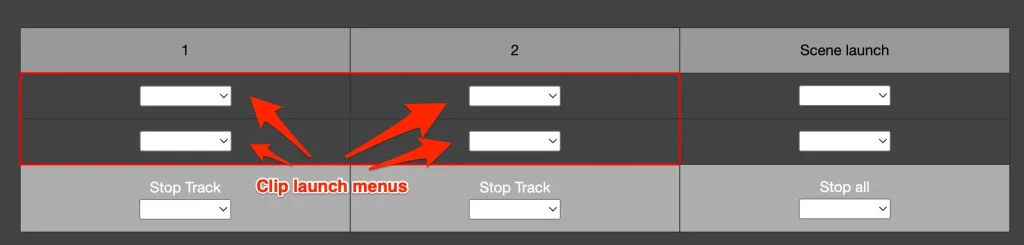
But if you wanted to add clip launching, you could select controller inputs for each of the clips in the session box.
Click ‘save’ at the bottom of the settings form.
The session box mapping will now be in listed in the mappings table.
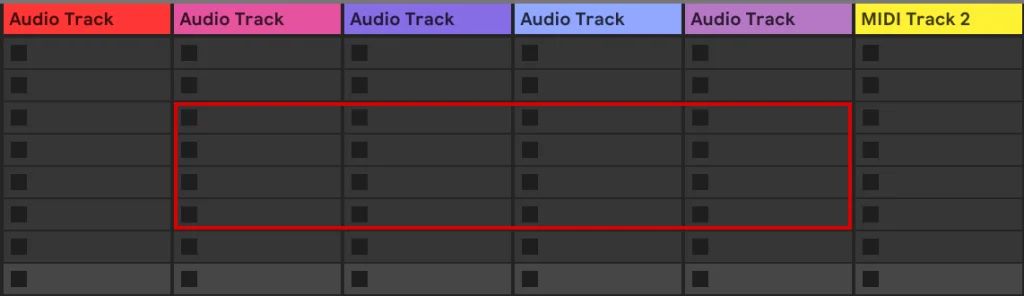
You now have a 2 by 2 session box in your script, if you were to generate this into Ableton Live, you would see a red box appear in your Ableton session.
At the moment you won’t be able to move it around your session, so let’s move onto the next step and add navigation mapping controls to it.
Using buttons for session box navigation
Now we will use 2 buttons for moving the session box left and right.
Open the mapping menu and click ‘session box navigation’.
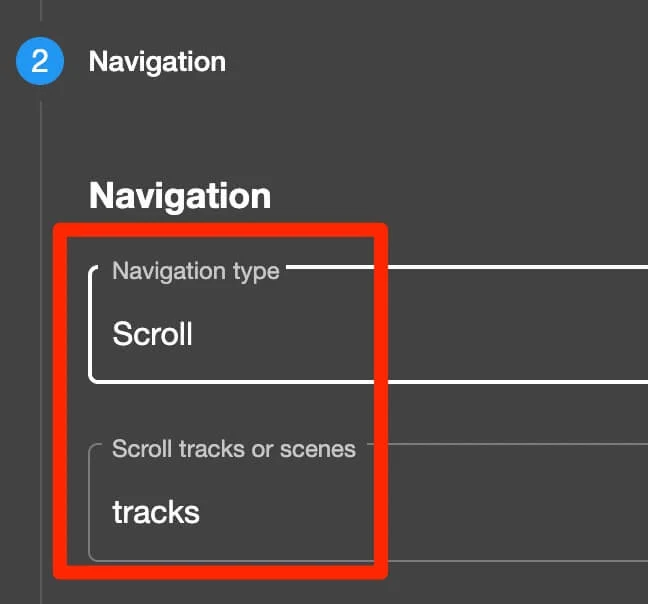
Open the ‘Navigation’ panel and do the following:
For ‘Navigation Type’, change this from ‘select track/scene number’ to ‘Scroll’.
For ‘Scroll tracks or scenes’ select ‘tracks’. This will move the session box left or right across the tracks. Set this to ‘scene’ to move it up/down across scenes.
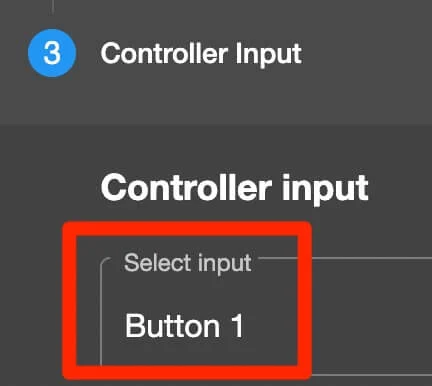
Open the ‘Controller Input’ panel and select a button from your controller template in the menu. (if you haven’t configured any buttons in your controller template, you will need to do this now).
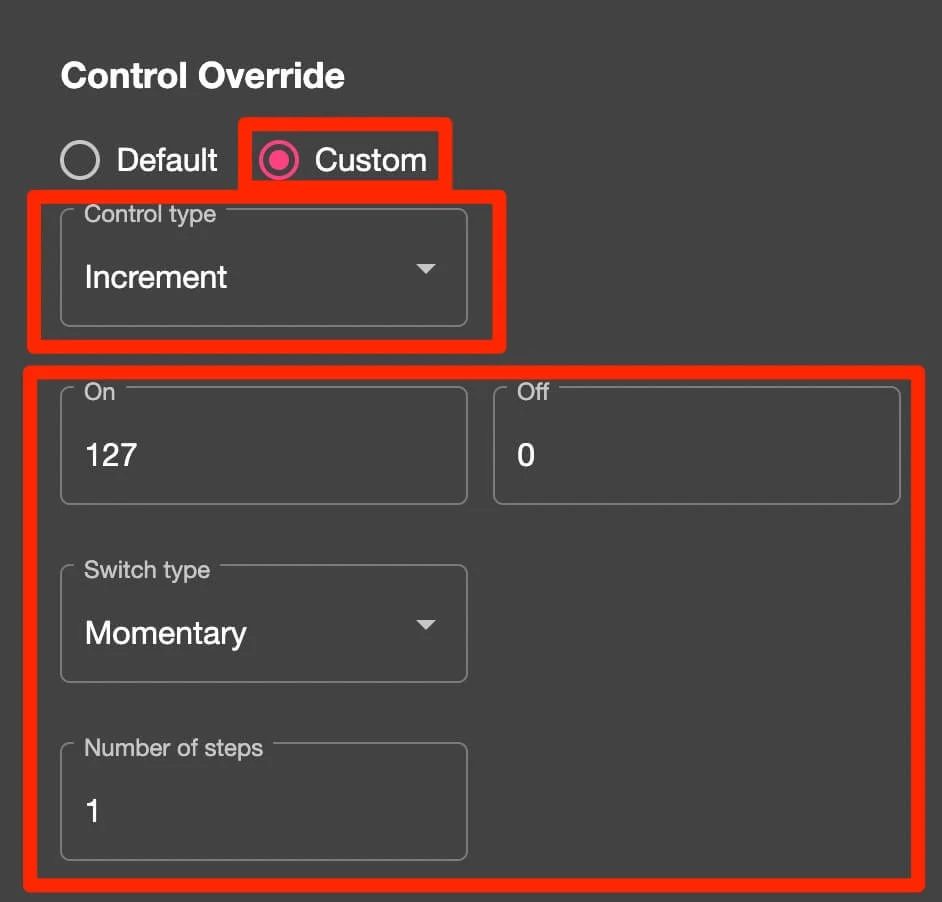
Now open ‘Control Override’ panel, click ‘custom’ and select the following:
For ‘Control type’, select ‘increment’
Make sure ‘on’ and ‘off’ are set to the same on/off MIDI velocity values which your button sends when pressed and released. Usually this is 127 for on and 0 for off.
Select ‘momentary’ or ‘toggle’ based on what your button is configured as.
For ‘number of steps’ set this to 1 (you can set this to a higher number if you wanted to move multiple tracks with a single click, i.e. if you wanted to move in groups of 2 or 4).
Now click the ‘save’ button.
You now have a button mapping which will move the session box 1 track to the right, each time you press it.
You will probably want to be able to move it to the left too?
Add another ‘session box navigation’ mapping or you can duplicate the mapping which you just made by ticking the box next to it and clicking ‘duplicate checked items’ at the top of the table.
In this new mapping, follow the configurations above, the only difference this time is to set ‘Control Type’ to ‘decrement’ and select another button to use in the ‘Controller Input’ panel.
Using a knob for session box navigation
Using similar settings to the button navigation example above, you can also use a single knob to move your session box across tracks or scenes in your session.
To add this, again select a ‘session box navigation’ mapping from the menu.
For ‘Navigation Type’ select ‘Scroll’.
For ‘Scroll tracks or scenes’ select ‘tracks’.
In the ‘Controller Input’ section, select a knob which you have added in your controller template.
Then click Save.
That’s all of the configuring needed, you can now click the orange ‘Generate script into Ableton Live’ button,
Then open Ableton Live and if your script is set up correctly in the ‘settings/preferences’ menu, you will see the red box in your session and you’ll be able to move it using either the buttons or knob which you have setup!